I did figure out that it's a lot easier to get things like the defroster vents and air vent hoses in place before installing the dash metal fascia.

The dash pad has to be in place for the defroster, or as the British say "demister" vents, to be bolted into place.

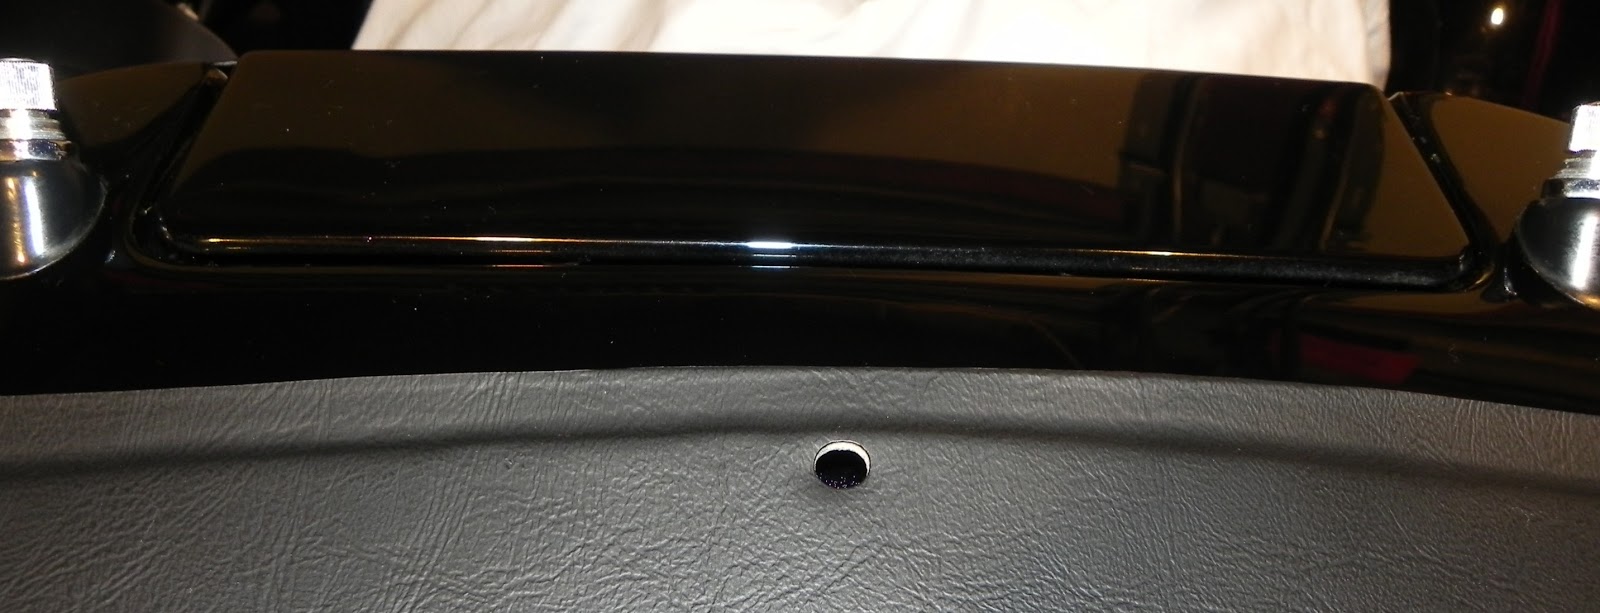
I found out the hard way that the lower pads need to be installed before the dash metal fascia gets installed !

In my last post (Winter 2013), I mentioned that my grille was hanging on the shop wall in need of rejuvenation.

I called Roy, my "go to" guy for media blasting, and made an appointment to drop off the grille parts. Roy has a connection for powder coating the pieces after cleaning, so a few weeks later I picked up the parts looking like this!


All things considered, I'm very happy with the finished product.
My final subject for this post has to do with the scuttle vent lid. The vent is directly in front of the wind shield, and on the '69 thru '72 model years was a solid "door" that opened and closed via a lever in the cockpit. After '72, the vent was simply covered with a plastic grill. Again, in my quest to make Tillie look like an older lady, I made the decision early in the process to convert over to the solid door cover. Little did I know how much effort would be spent on that decision!
Lid in the open position

Lid in the closed position
The vent door, spring, control rod, and rubber seal are available from the various vendors, so that was not a problem. However, since my metal dash fascia is for a '74 model year, the control lever and gate were not in place. A call to Scott at Team Triumph produced the metal fascia from an earlier car with the control lever and gate, so all I needed to do was remove the pieces and weld them in place on my fascia.
Meanwhile, John, my body work artist, was getting the spring and door in place, working to get the door to close flush, and of course, prepping the door surface to look presentable when painted. It may not sound like a lot of work, but hours were spent on this task.

Once the car came back home from the body shop, I figured putting in the control rod, lever, and gate would be easy....well sort of ! Getting the control rod in place and working the door correctly took waaay more hours than I care to admit, mostly due to my inexperience. The control rod was longer than required and needed trimming. However, when I put the metal fascia in place to get a measurement, I didn't have it positioned correctly and so cut the rod a bit too short! No problem ,I thought, it's just 1/8th" rod. So, I get a new piece and bend it into shape. Well, those gentle curves were a bit tougher to duplicate than I thought, and they have a big effect on how the lid opens and closes!

Control lever and gate in place....I'll put the little knob on once I'm done.

Control rod where it goes into the scuttle area

The underside of the lid will need touch up paint from all the "muddling around" I did trying to get the control rod to work correctly, but the end result is worth it !