July 2013 and the wiring is finally done !!

It's been a long time since I started the TR6 wiring harness last September, but I can now say that  the Advance Auto Wire (AAW) harness is tested / finished, and I really feel good about this upgrade!

I spent quite a bit of time "fiddling" with the last foot of wiring at the dash- trying to make it as neat as possible by bundling all the wires going in the same direction and then cable tying the bundles and labeling the various wires.    
 I know this doesn't look nice and neat ,so let's call it organized confusion! 


I couldn't keep all of the various wire colors straight in my feeble mind :), so labels were used.


No matter how you bundle the wires, there has to be enough slack to reach to the various gauges.


The end result is wiring that doesn't jump out at you when the dash is pulled open.


I wasn't comfortable with the stock type "barrel" connectors, so I used "spade" type connectors with an insulator cover when possible.


Ok, see these little guys(below)...they clamp the Speedometer and Tachometer to the wood dash (two for each gauge).  Well ,guess what, I could find just two in my dash parts bag, not the four I needed. Since this is not something you will find at your local hardware, a call to Scott at Team Triumph produced the needed parts. What a great resource for obscure parts!


One of the things that slowed down this project was the lamps for the various gauges. I didn't want to re-use the old sockets, so I called Josh at British Wiring ,and he advised that the only replacements available were plastic two-wire sockets. I ordered enough for all the dash lamps.

 The down side is, "some assembly required".

My rusty soldering skills got a refresher course!

One down 15 more to go !

Hey ,that wasn't so bad!


The next issue was... how do I deal with all those red/black wires? Another look at the British Wiring web site revealed  various sizes of multi- connector blocks.

By looping the pins together, I had one point for power/ground.

During the middle of this process, a thread on the 6-Pack web site was posted concerning dash board wiring, and "Waytekwire" was mentioned as a vendor with a more streamlined connector.


Ok, I've got to add this caveat. The original "one wire" sockets (they get the ground through the metal teeth) are probably a better solution for the tach and speedo gauges (8 lamps). The plastic lamp sockets don't fit tight enough and tend to pop out while you're "fiddling" under the dash.  I spoke with Josh at British Wiring, and he hopes to get the older style in the future.


I also did some "custom" work on the dash, like moving the key back to the center console, adding a "push button" starter, and replacing the rheostat with a power outlet.


The aluminum plate with the toggle switches will eventually go where the radio would have normally been. It contains things like my hazzard switch/indicator, electric fan switch/indicator, and the overdrive controller indicator . (007 approved) :-)


Well, now that the wire harness is in place, it's time to start the engine!
Stay tuned!!

May 2013 Progress Report

May's pleasant weather and longer days have allowed me more opportunity to make progress on Tillie's  reconstruction. Those of you who have been following this blog may recall how last month I was so proud of myself getting the metal dash fascia and various pads installed...well ,one evening as I was admiring my handy work, it dawned on me that I didn't bolt in the windshield support brackets before installing the dash! A quick look confirmed my fears...getting those brackets bolted in with the dash already in place was going to be most difficult. Oh well, out came the dash and in went the brackets!

Right side


 Left side


As long as I'm going down this road, I may as well get the windshield frame bolted down and seated!


But before you bolt everything in place, make sure you have installed the vinyl covering that  goes over the inside of the windshield frame...especially the sides and bottom. I'll let you guess how I discovered this little item. Sigh!


Ok, here we are...back where I started but with the wind shield frame in place.


If there is one good thing about my "one step forward two steps backward" mode of restoration, it's the fact that I again start looking ahead for the next part to install before getting too far along. In this case, the steering column came to mind. I'm going to have many wires running right smack under the dash where the steering will be located...perhaps I need to get that column back in position! So, I get out the box labeled steering, lay everything out, and then panic when I realize I didn't take enough detailed photos of how the various parts go together!


Ok, calm down, first let's put  Art Lipp's Delrin bushings in the top and bottom of the upper column.
Going back and reviewing Bob Danielson's "how to" web page concerning these neat bushings, plus a steering column search of the 6-Pack web site,  gave me the confidence to move forward.


Getting the sequence of these spacers and washer took a bit of reading in Bentley's manual.


This looks correct !  If you're doing this project, consider a new rubber steering coupler. 


And now the top part of the column is in place and snugged down with new pieces of felt under the clamps. 


I'm always amazed at what the various vendors supply...in this case, TRF supplied felt of the correct thickness and size for the steering column clamps!


 I continue to work on wiring and I'm hoping by the end of next month to have the dash wiring in place and tested. Stay tuned.

April 2013 Update

Cold weather is slowly giving way to spring here in NW Ohio. It's almost mid-April, and  I can count on one hand the number of days that didn't require a jacket. But, things are starting to happen in the man cave. The dash on Tillie is coming together, and once that happens, more of the wire harness can be installed.

 I did figure out that it's a lot easier to get things like the defroster vents and air vent hoses in place before installing the dash metal fascia.


The dash pad has to be in place for the defroster, or as the British say "demister" vents, to be bolted into place.  


I  found out the hard way that the lower pads need to be installed before the dash metal fascia gets installed !


In my last post (Winter 2013), I mentioned that my grille was hanging on the shop wall in need of rejuvenation.


I called Roy, my "go to" guy for media blasting, and made an appointment to drop off the grille parts. Roy has a connection for powder coating the pieces after cleaning, so a few weeks later I picked up the parts looking like this!


 Some of you eagle- eyed viewers may notice the "pock" marks on the lower edge of the frame. These were caused by the chrome trim pieces that surrounded the grille on the later cars (post '72). Unfortunately, that trim trapped moisture and caused the metal underneath to rust. Since I'm making Tillie look more like a '69  than a '74, I won't be putting the trim back on. However, because of my lack of planning, Tillie will have to live with the blemishes. What the heck, that will give the "correct police" at car shows something to mumble about ! ;-)

All things considered, I'm very happy with the finished product.


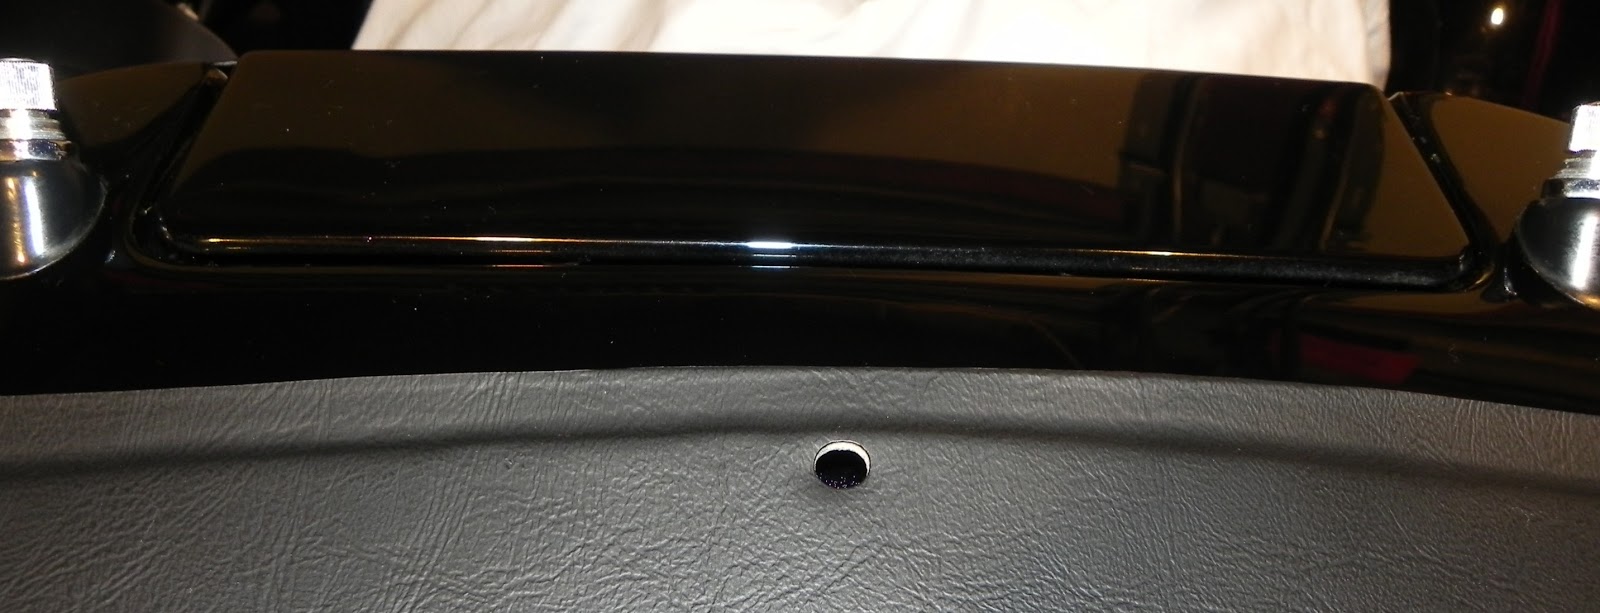
My final subject for this post has to do with the scuttle vent lid.  The vent is directly in front of the wind shield, and on the '69 thru '72 model years was a solid "door" that opened and closed via a lever in the cockpit. After '72, the vent was simply covered with a plastic grill. Again, in my quest to make Tillie look like an older lady, I made the decision early in the process to convert over to the solid door cover. Little did I know how much effort  would be spent on that decision!

Lid in the open position

Lid in the closed position


The vent door, spring, control rod, and rubber seal are available from the various vendors, so that was not a problem. However, since my metal dash fascia is for a '74 model year, the control lever and gate were not in place. A call to Scott at Team Triumph produced the metal fascia from an earlier car with the control lever and gate, so all I needed to do was remove the pieces and weld them in place on my fascia.


Meanwhile, John, my body work artist, was getting the spring and door in place, working to get the door to close flush, and of course, prepping the door surface to look presentable when painted. It may not sound like a lot of work, but hours were spent on this task.


Once the car came back home from the body shop, I figured putting in the control rod, lever, and gate would be easy....well sort of !  Getting the control rod in place and working the door correctly took waaay more hours than I care to admit, mostly due to my inexperience. The control rod was longer than required and  needed trimming. However, when I put the metal fascia in place to get a measurement, I didn't have it positioned correctly and so cut the rod a bit too short!  No problem ,I thought, it's just 1/8th" rod. So, I get a new piece and bend it into shape. Well, those gentle curves were a bit tougher to duplicate than I thought, and they have a big effect on how the lid opens and closes!


Control lever and gate in place....I'll put the little knob on once I'm done.


Control rod where it goes into the scuttle area


The underside of the lid will need touch up paint from all the "muddling around" I did trying to get the control rod to work correctly, but the end result is worth it !


Winter Update 2013

If you've been following  this blog, you know it's been several months since my last post.
Never fear, gentle reader, I haven't given up on Tillie. Work and other projects have consumed quite a bit of my time, not to mention that working in an unheated shop with a propane heater blasting away is not a whole lot of fun.Ha.
Ok, enough of the whining and excuses...here are some pixs of what I have gotten done.


All of the AAW wire harness is in place, labeled, and ready to be terminated at the dash. This is pretty tedious work for me, so I'm going slowly and trying to do it right the first time.


While running the wiring to the front of the car, I got to thinking about other items that should get installed at the same time....the radiator overflow bottle, for example. I knew the bottle was on the driver's side front wheel well, but honest to grandma, I could not figure out where to bolt it!  As usual, some 6-Pack members bailed me out with photos of the bottle location on their cars(thanks guys). After viewing those pixs, the light bulb came on...both of Tillie's front wheel wells were replaced, and the new wire harness holding clips are  located higher up on the wheel well, blocking the normal location for the bottle.Since the emissions canister on Tillie was long gone before I got the car, that space on the passenger side front fender was available. The overflow tube will have to bend around backwards, but not a bad fix, all things considered.


Wire wheels have always been on the "must have" list... especially for my wife, Rhoda, so when I found a set of Dayton chrome wires on sale at Universal Vintage Tire in Hershey, PA, I pulled the trigger for both wheels and tires.


Finally , I thought all the rusty, nasty car parts had been cleaned or replaced....then, while working on the overflow bottle, I thought of the front grille that's been hanging on the shop wall, and guess what, the lower part of the grille was rusty and nasty. It's been sent off to Roy, my media blasting guy, for cleaning and powder coating. Hope that's all for rusty/nasty!


March is just a day away, and the days are getting longer, so warmer weather can't be far behind...I'll keep you posted on my progress (honest).  (-;